
When you move, the modem, gateway, router, fiber box, and TV equipment do not all follow the same rule. Some items belong to the provider and must be returned. Some are yours to pack and reuse. A wall-mounted fiber terminal may need to stay for the next resident. Use this checklist before you unplug anything so you do not lose service or receive a non-return charge.
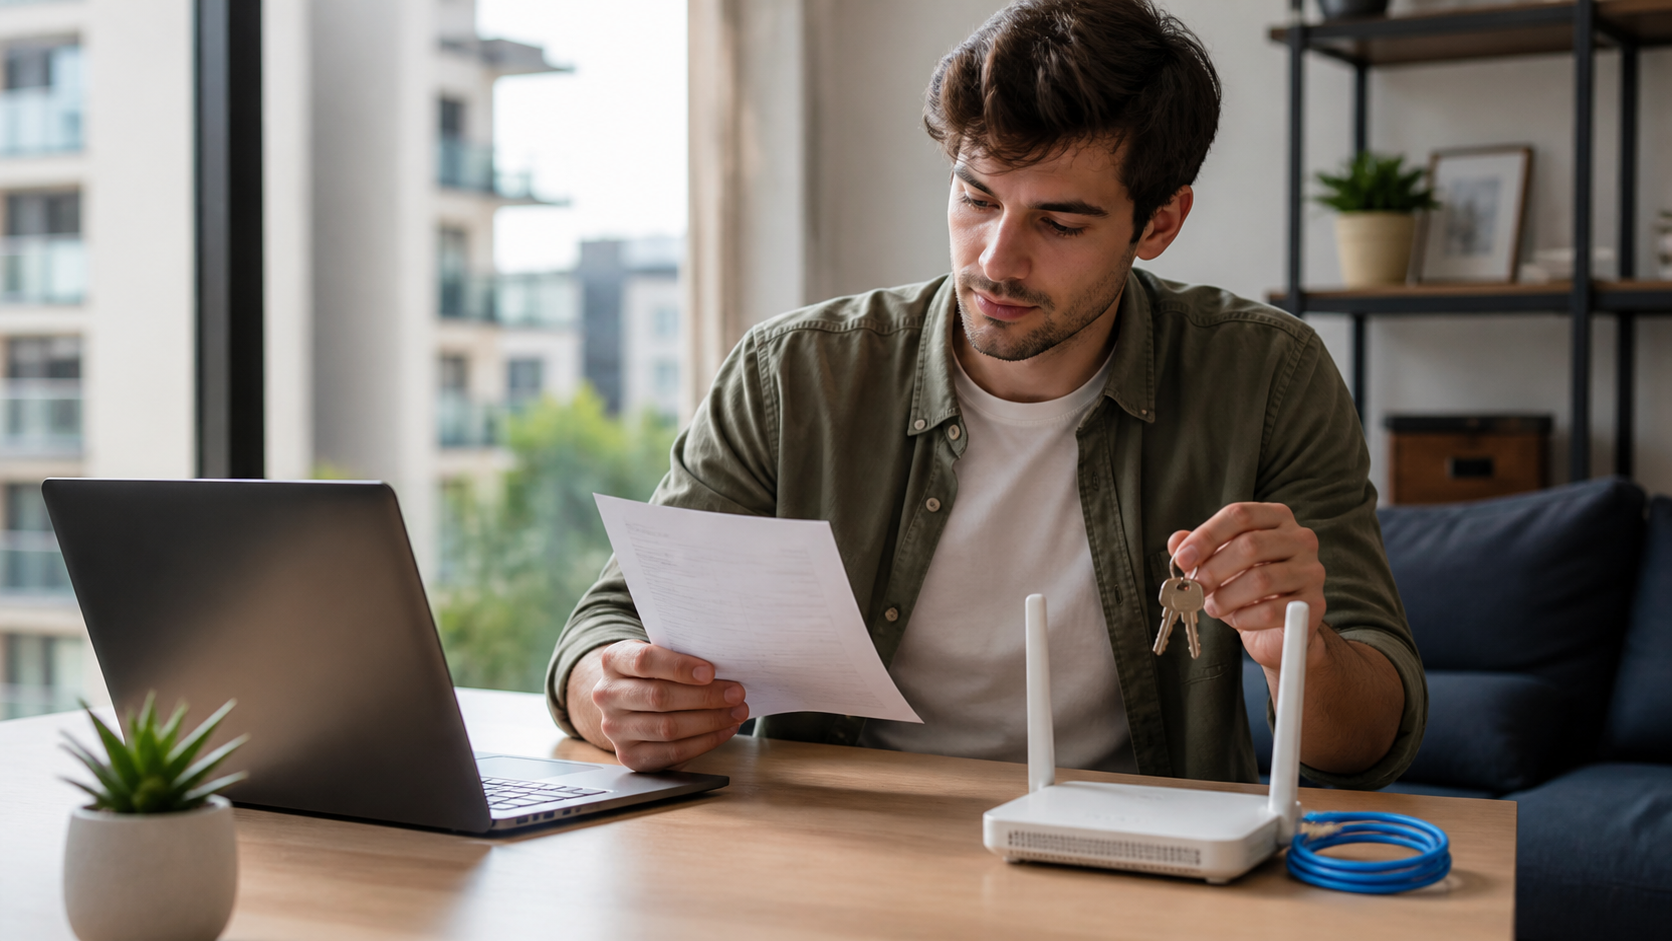
First decide whether you are transferring or canceling
Call or chat with the provider before the move date and give both addresses. Ask whether the new address qualifies for the same service, whether the account can transfer, and when the old service ends. A transfer may require a new installation appointment, while a cancellation usually starts an equipment-return process. Get the answer and confirmation number in writing.
Do not disconnect the old service early if you still need it for work or a move-out inspection. Schedule the end date after you know the new activation date, and keep a short backup connection if the dates do not overlap.
Sort the equipment into three groups
| Item | Typical next step | What to confirm |
|---|---|---|
| Rented modem or gateway | Return it using the provider instructions. | Due date, accessories, label, and receipt. |
| Your own router | Pack it with its power adapter and reset only if needed. | Compatibility at the new address. |
| Wall-mounted fiber or network terminal | Usually leave it attached and powered as instructed. | Whether a technician will handle it. |
| TV boxes, remotes, or extenders | Return or transfer each serial-numbered item. | Which accessories count as part of the rental. |
The exact list is provider-specific. The Xfinity move preparation guide is one example of why customers should confirm equipment and appointment details before moving. Use your own provider’s instructions as the final authority.
Photograph every serial number and cable
Before packing, photograph the equipment label, power adapter, coax or Ethernet cable, and any return barcode. Make a simple list of serial numbers and the condition of each item. This helps if a provider later says a device was missing or damaged. Keep the photos until the final bill is settled.
Return rented equipment with proof
Use the provider’s official store, prepaid shipping label, or approved drop-off location. Ask for a dated receipt or tracking number that lists the serial number when possible. Do not leave a gateway in an apartment lobby or hand it to a moving company without a receipt. Pack power supplies, remotes, and adapters that the return instructions include.
Check the return deadline and the next bill. If a charge appears, contact support with the tracking number before assuming the charge is final. Keep a copy of the chat or email.
What to do with equipment you own
Pack your own router, mesh units, and Ethernet cables in a protected box. Keep the current WiFi name and password only if you trust the new network setup. At the new address, confirm that your provider supports the router and that the modem or gateway can use the required connection mode. A router that worked on cable may not replace an optical terminal or fixed-wireless gateway.
If you sell or recycle old hardware, erase the management settings and remove it from your account first. Do not throw away a provider-owned device just because it looks outdated.
Leave building equipment in place
A wall-mounted fiber terminal, building access point, or shared network box may serve the next tenant. Do not remove it unless the provider or building manager tells you to. Photograph the condition, report damage, and ask who is responsible for powering it during the handover.
Activate the new address safely
- Wait for the provider to confirm the activation window.
- Connect the incoming line to the labeled gateway port.
- Use the provider activation page or app.
- Test a wired device and then the rooms where you work or stream.
- Change default WiFi credentials if allowed and save the new details securely.
Our new apartment internet setup checklist covers address checks, building access, activation, and room-by-room testing.
Move-out checklist
- Confirm transfer or cancellation in writing.
- Photograph equipment and serial numbers.
- Return every rented item and keep proof.
- Leave wall-mounted network hardware unless instructed otherwise.
- Check the final bill and equipment balance.